One QR Code. Three Simple Steps.
Every Wedibox feature works the same gentle way: create your page, share your code, and let guests do the rest. Pick a guide below to see exactly how yours will work.
- Create your page
- Share your QR code
- Guests contribute
See It Working Before Your First Guest Does
Try the free demo. Scan, upload, and watch the gallery fill, exactly the way your guests will.
Free · No account needed
 Scan with your phone
Now showing: Photo Sharing · tap another guide to switch
Photo sharing from setup to the last download
Setup takes about two minutes. These five short steps walk the whole journey, from turning it on to downloading every photo after the wedding.
-
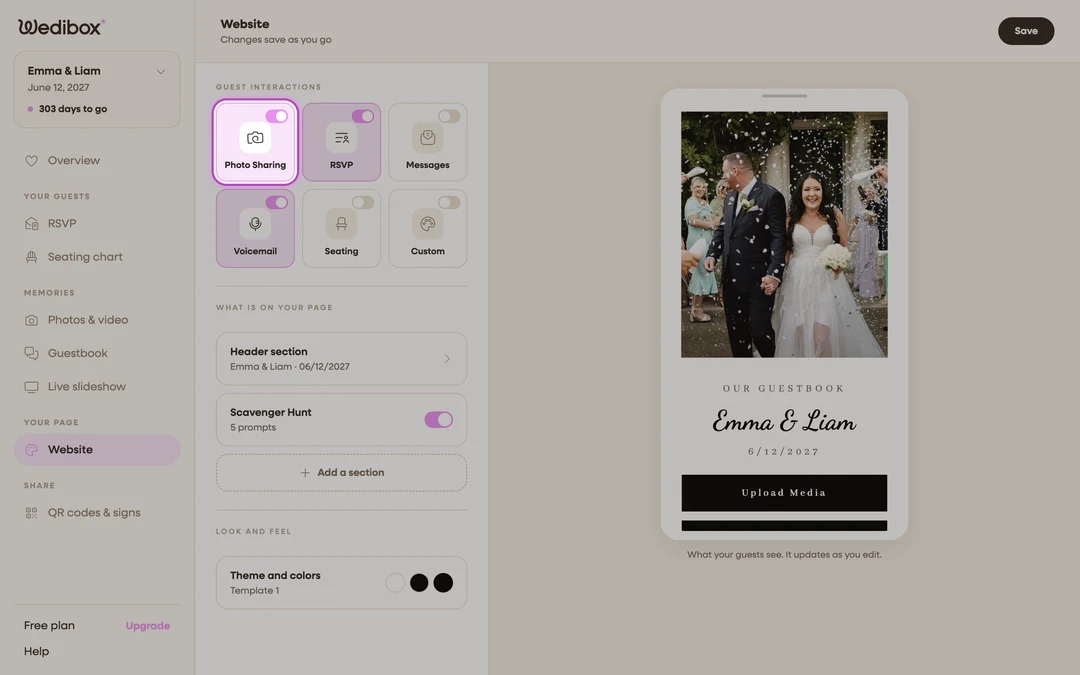
Turn on Photo Sharing
Create your event, then open the Website editor. Turn on the Photo Sharing tile under Guest Interactions. One switch adds the Upload Media button to your page and starts photo and video collection.
-
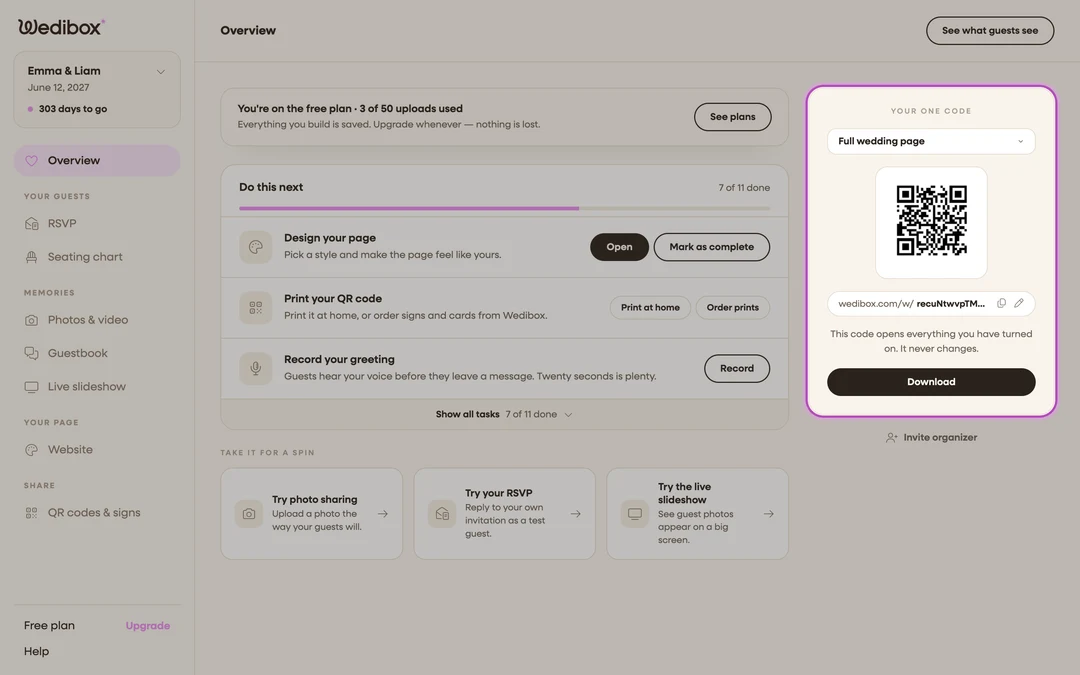
Print and display your QR code
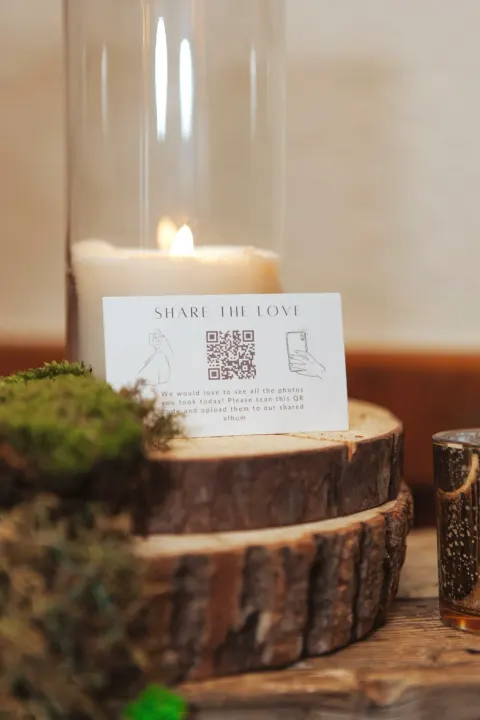
Your code sits on the Overview page from day one. It never changes, so you can print it early. Put it on table cards, a frame at the bar, or your ceremony program. You can also pick a photo-only code that jumps straight to uploading.
-
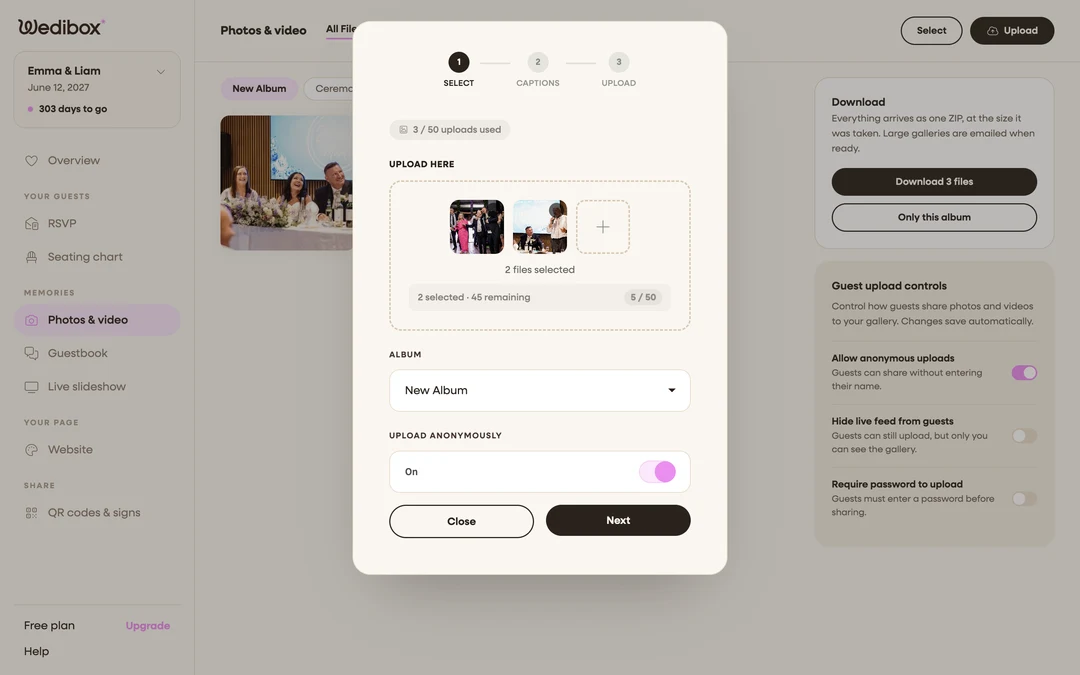
Be your own first guest
Scan your own code with your phone and upload one photo. The upload window walks you through it: pick files, add a caption, done. It takes about 30 seconds and removes any doubt before you print.
-
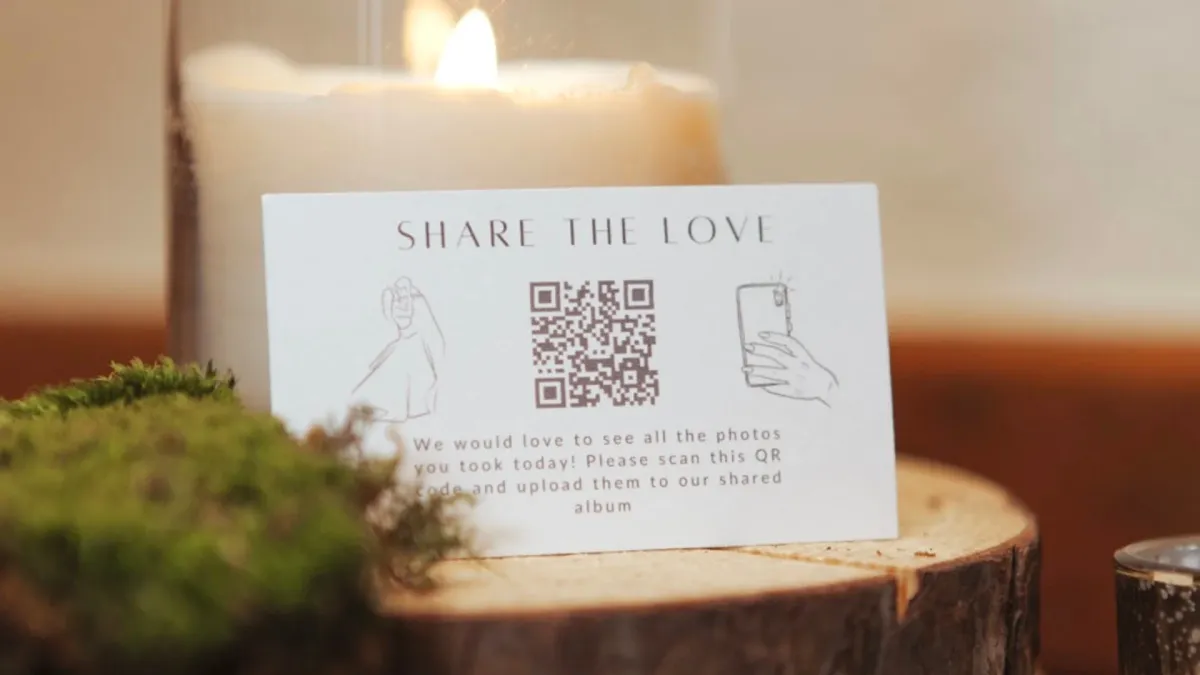
Guests scan and upload
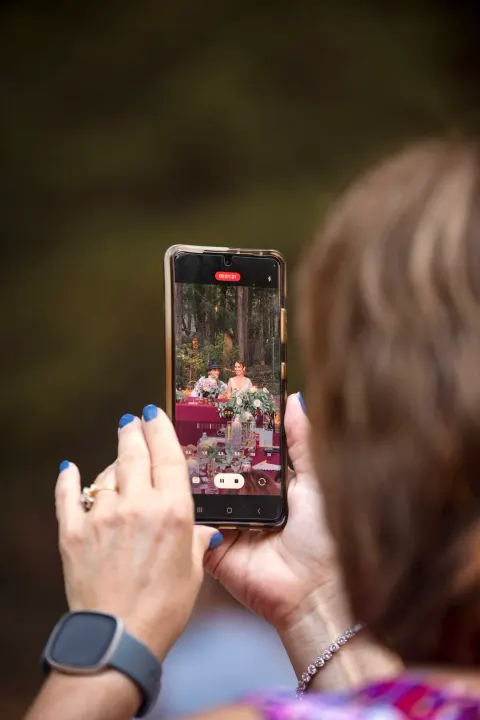
On the day, guests point their camera at the code and tap the link. They pick photos and videos, add a caption, and upload in about fifteen seconds. Full resolution, no app, no account. Every upload lands in your gallery in real time.
-
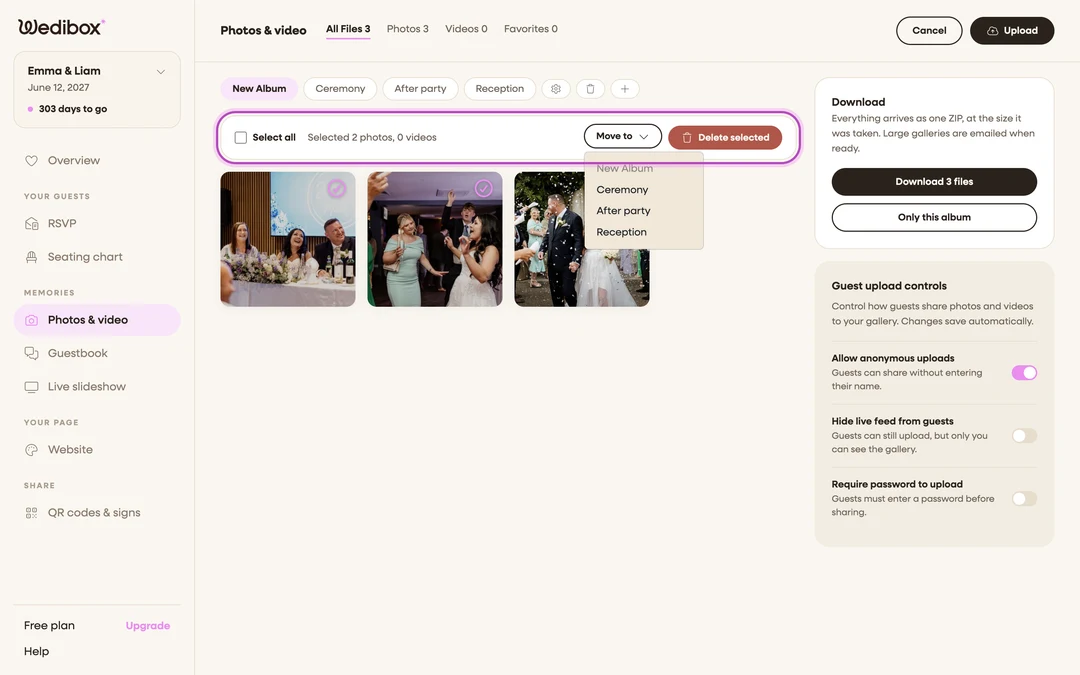
Sort, share, and download everything
Sort uploads into albums like Ceremony and Reception, hide anything you do not want shown, and let guests browse and like the gallery. After the wedding, download it all as one ZIP at the size it was taken.
“No login. No sign up. No app download. Just scan, upload, done.”
Your guestbook in five gentle steps
Written stories, attached photos, and voice notes, collected from every guest’s own phone.
-
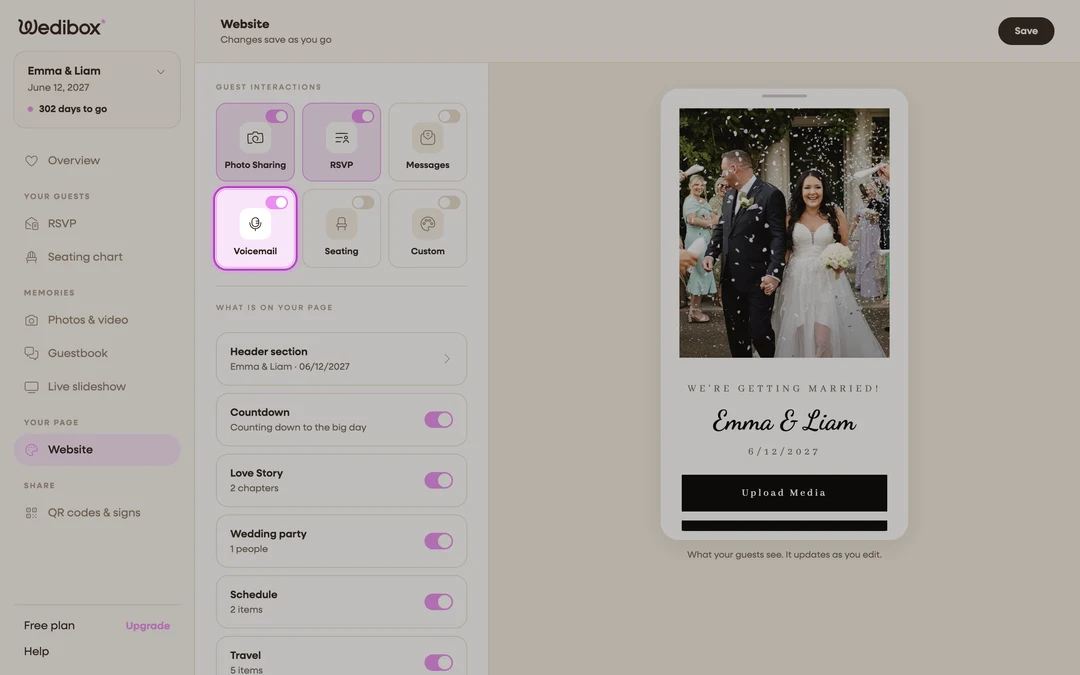
Turn on messages and voicemails
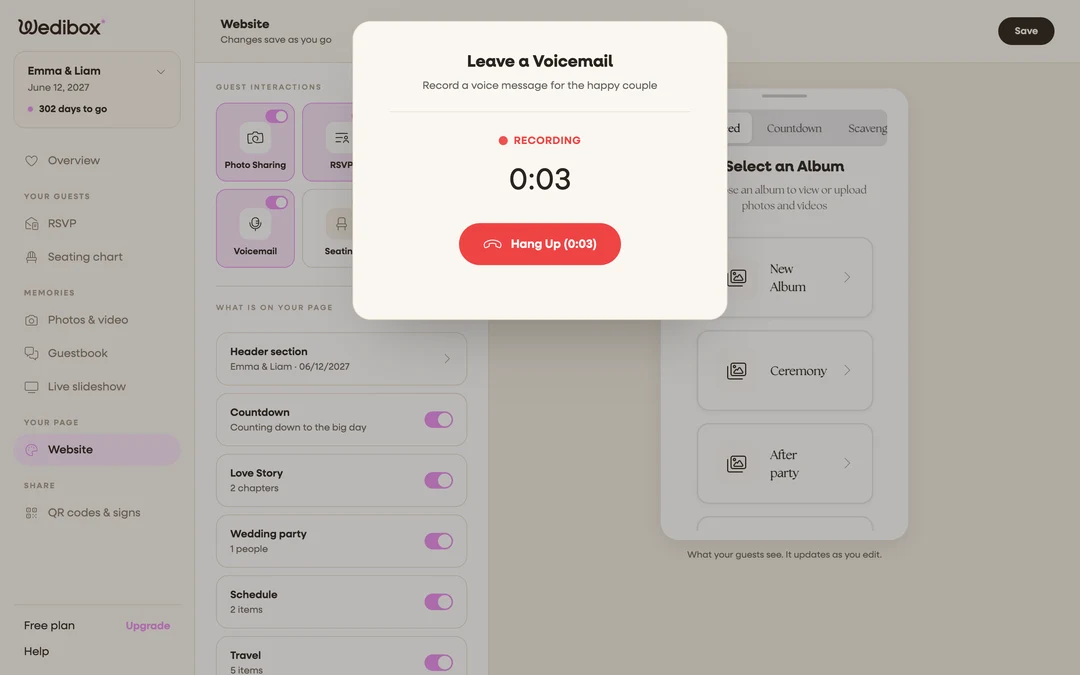
Open the Website editor and find Guest Interactions. Flip on the Messages tile for written notes and the Voicemail tile for voice messages. Each switch adds a button to your page and saves as you go.
-
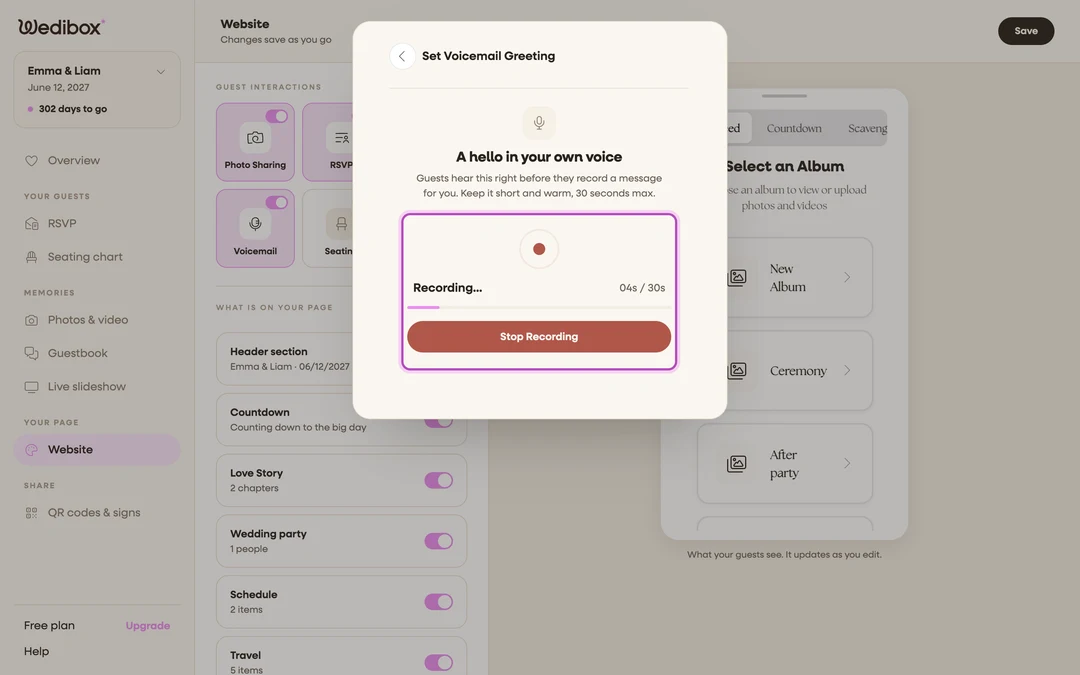
Record your greeting
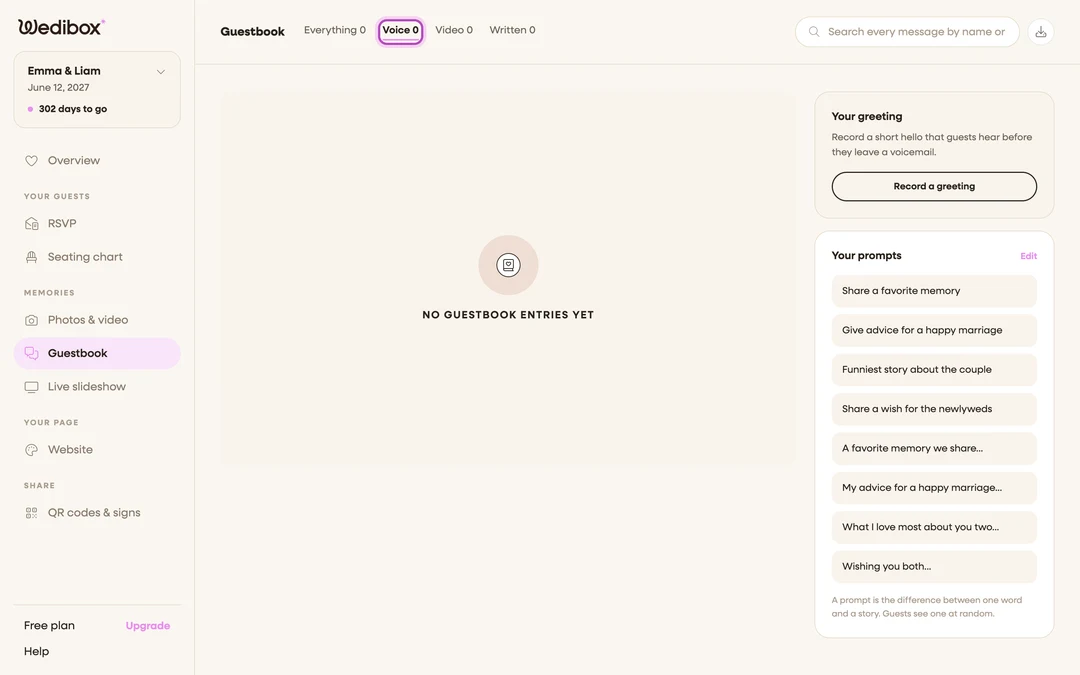
Guests hear your voice before the beep, just like a real voicemail. Record up to 30 seconds in the editor. A greeting in your own voice is the single biggest reason guests follow through.
-
Add your own prompts
Give guests something to answer, like the story of how they met you. Your prompts appear right before they write or record. Without your own, Wedibox shows a standard set.
-
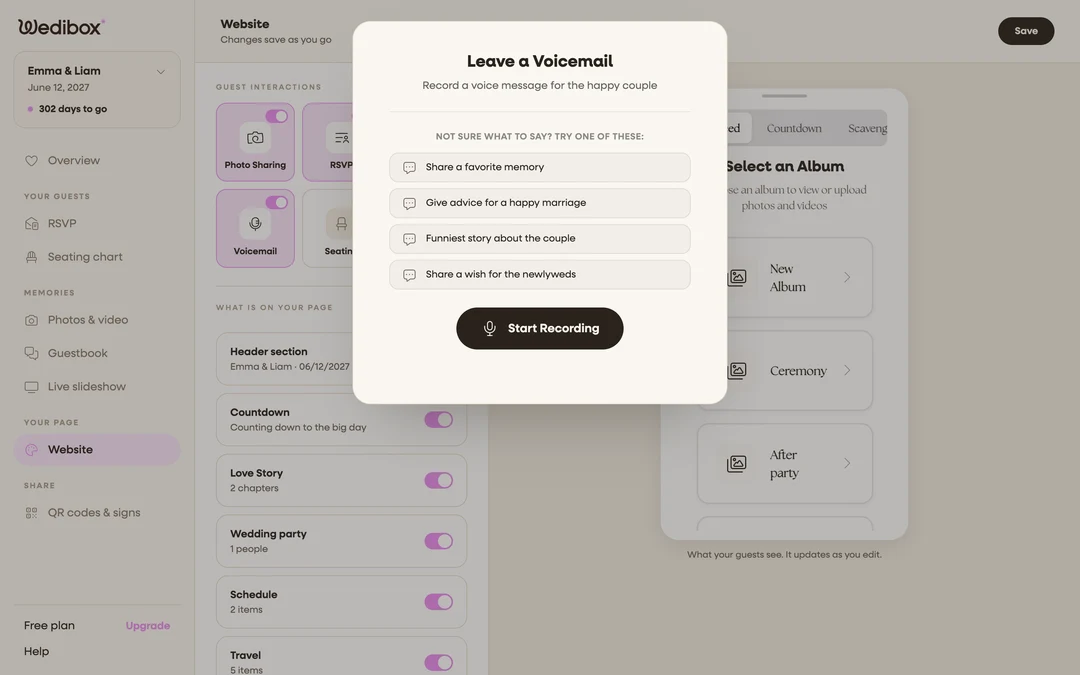
Guests write and record
Guests tap a button on your page, pick a prompt, and leave a note or a voice message. It takes about twenty seconds. No account and no app.
-
Read, listen, and download everything
Every note and voicemail lands on your Guestbook page in one feed. Play messages like a playlist, search by name, and download your own copies to keep.
“Stories, voices, and photos. One book you will open forever.”
RSVPs in five steps
No tutorials and no onboarding call. Just five steps between now and your first confirmed guest.
-
Build your RSVP form
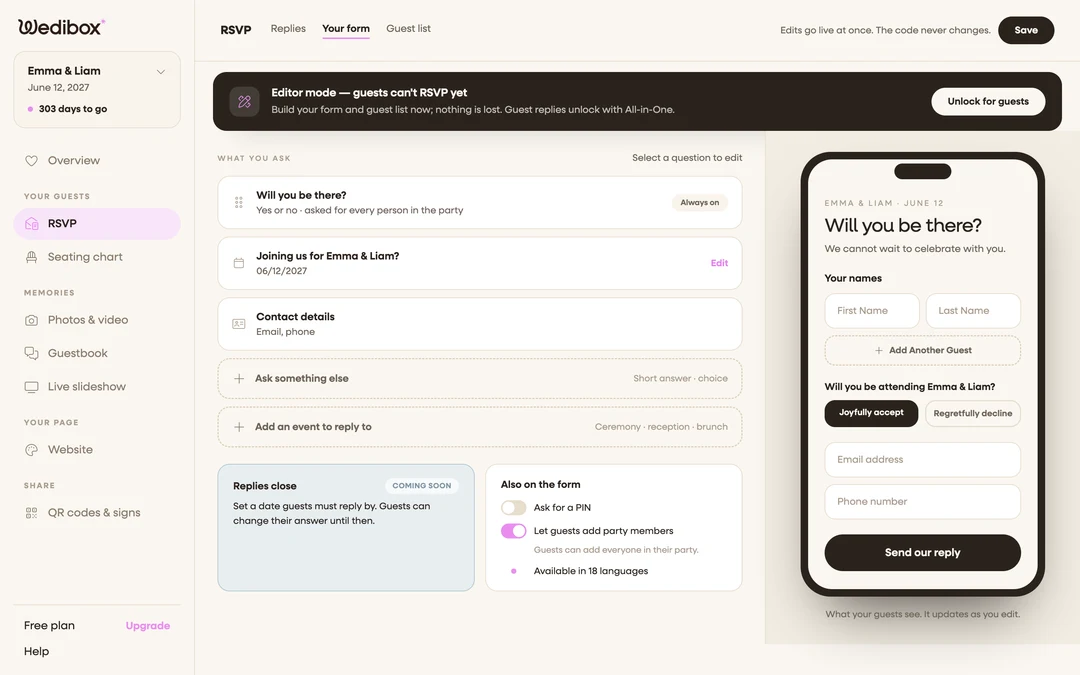
Open RSVP in your dashboard and switch to the Your form tab. Attendance is already on the form. Choose which contact details to collect and whether guests can add party members. A phone preview updates as you edit.
-
Ask your own questions
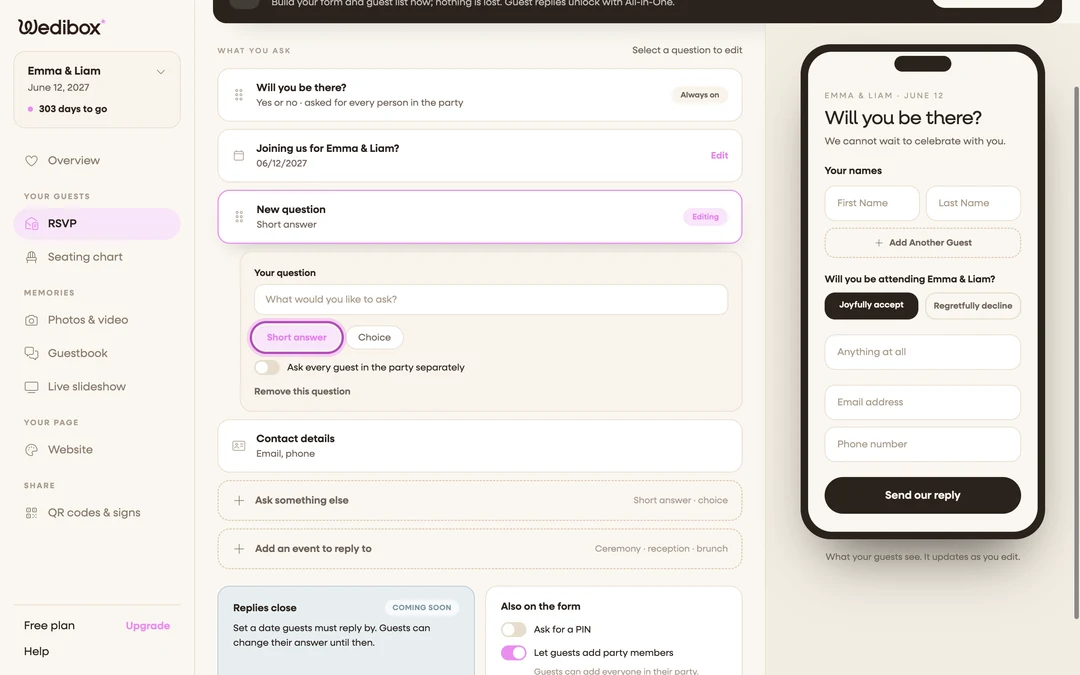
Add meal choices, dietary needs, or anything else you want to know. Multiple choice or open text, asked once per party or once per guest. Every answer gets its own live tally.
-
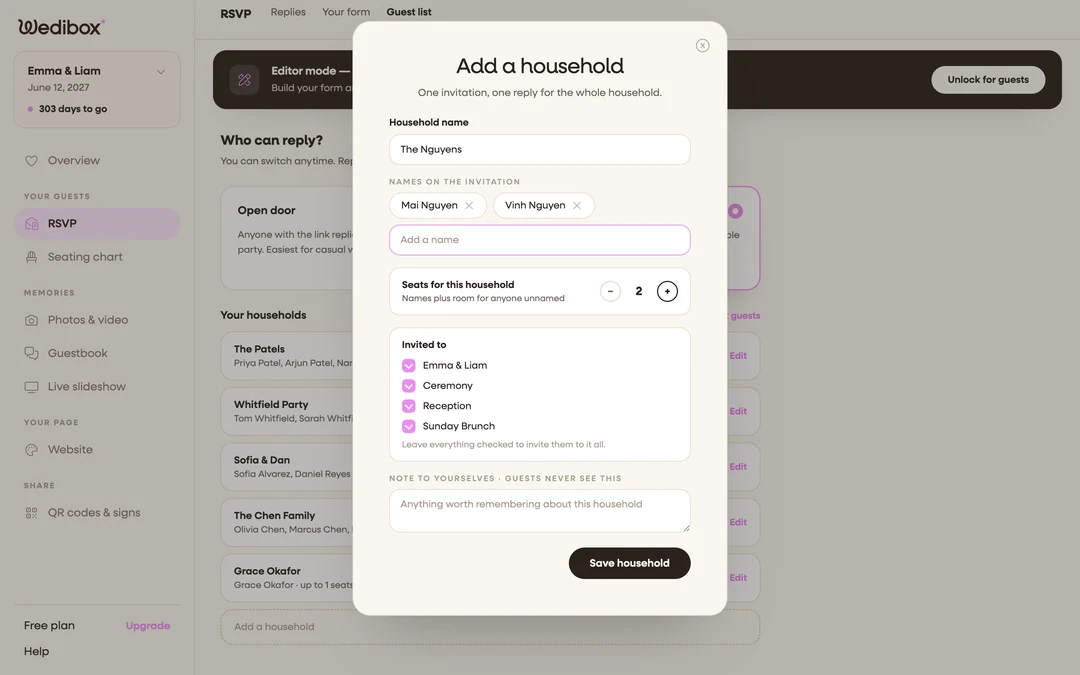
Decide who can reply
Open door lets anyone with your link reply. Invitation only limits replies to households you add, each with its own seat cap. Guests search their name and their invitation appears.
-
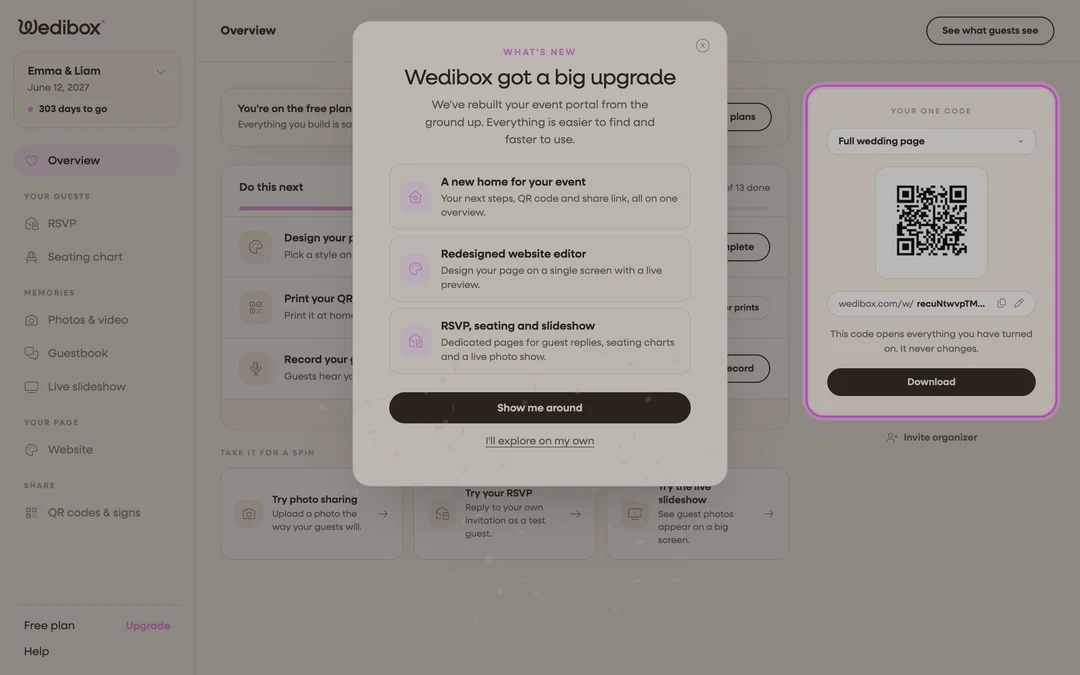
Put your code on the invitations
The Your one code card on your Overview page has an RSVP only option. It opens straight into the form with nothing else in the way. The link never changes, so you can print before the menu is settled.
-
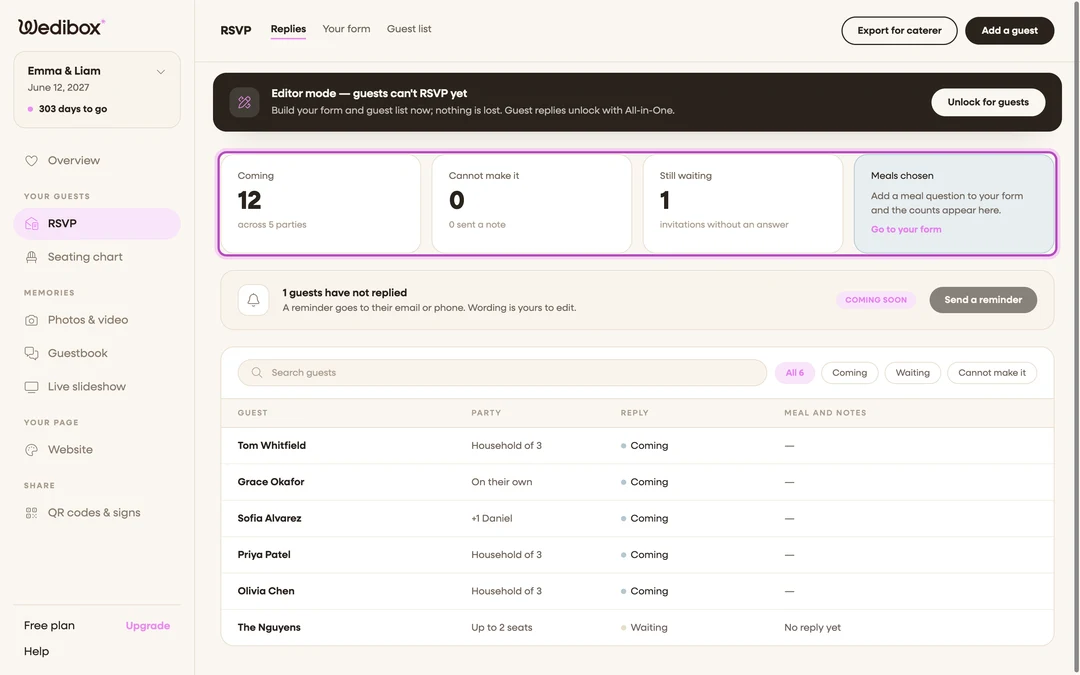
Watch replies arrive
Four stat cards keep the score: coming, cannot make it, still waiting, and meals chosen. Filter to the waiting list when it is time to nudge. Export a clean CSV for your caterer.
“Guests scan, tap yes, done. Under 30 seconds.”
The seating chart in five steps
Guests find their table in fifteen seconds. You can rearrange until the morning of.
-
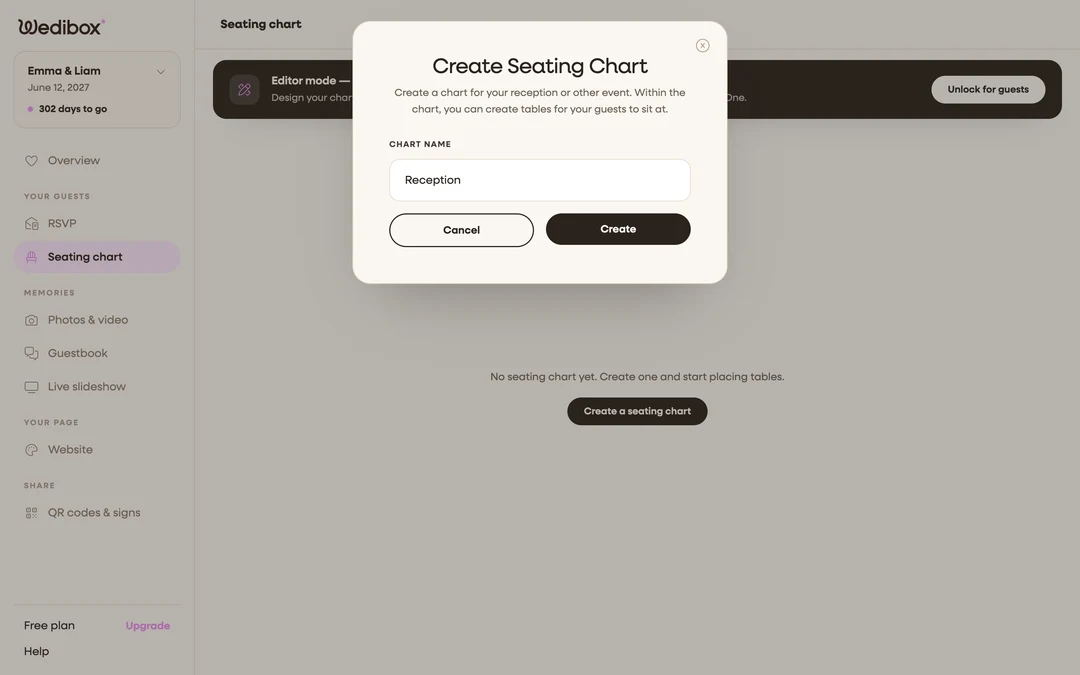
Create your chart
Open Seating chart in your dashboard and create a chart for your room. One chart covers one space, and you can add more later. You can plan the layout first with the free seating chart maker.
-
Lay out your tables
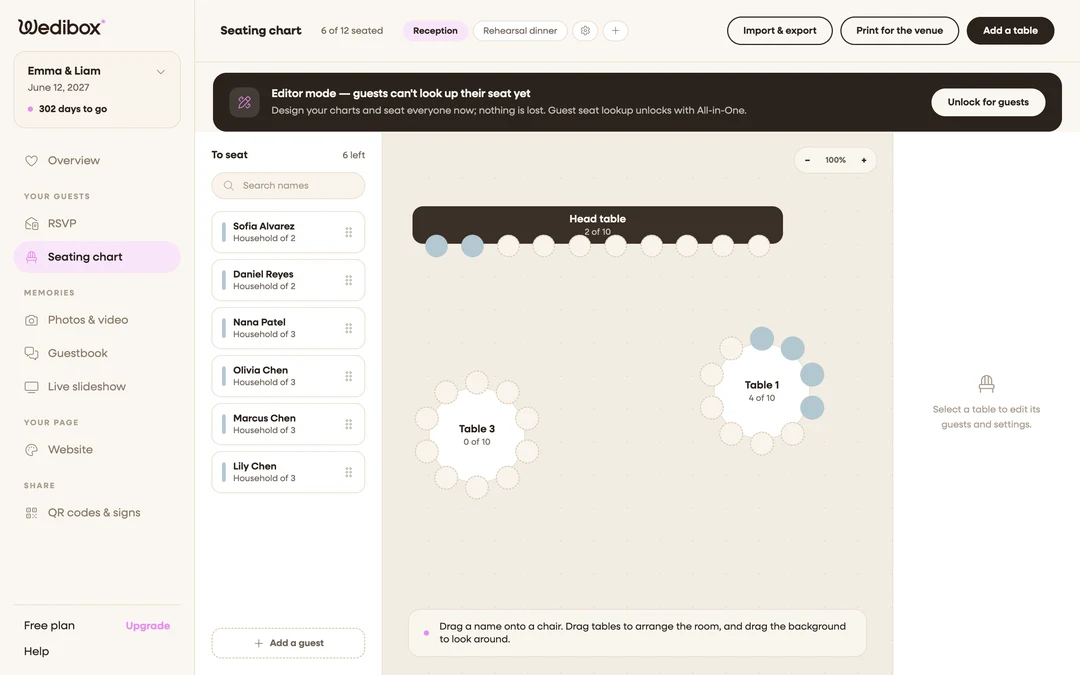
Click Add a table and drag it where it sits in the real room. Round, long, or head table, with up to 40 seats each. The canvas matches your floor plan, not a spreadsheet.
-
Seat guests by name
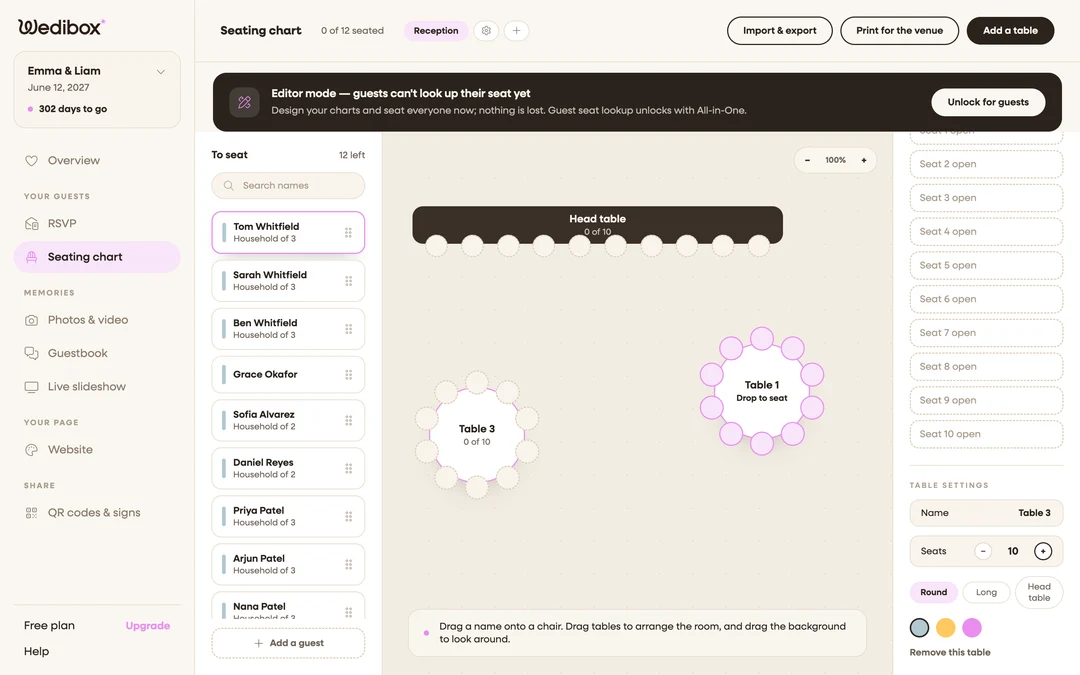
The To seat panel lists everyone who still needs a chair. Names from your RSVP guest list appear automatically. Drag a name onto a seat and the count ticks up. Rearrange as often as replies change.
-
Turn on Find Your Seat
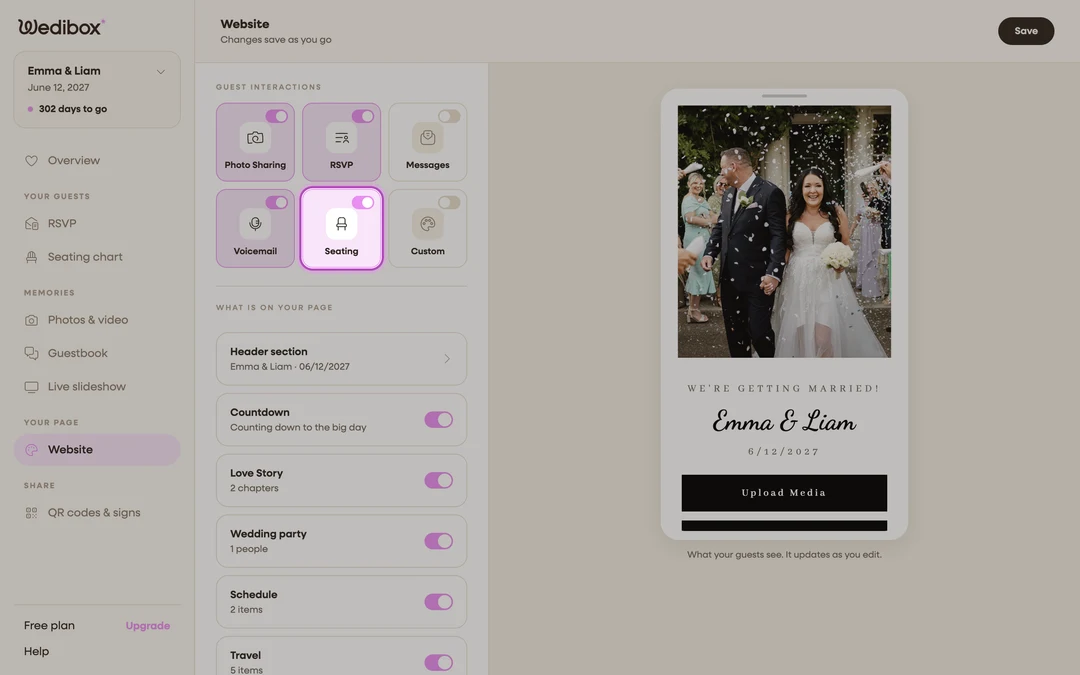
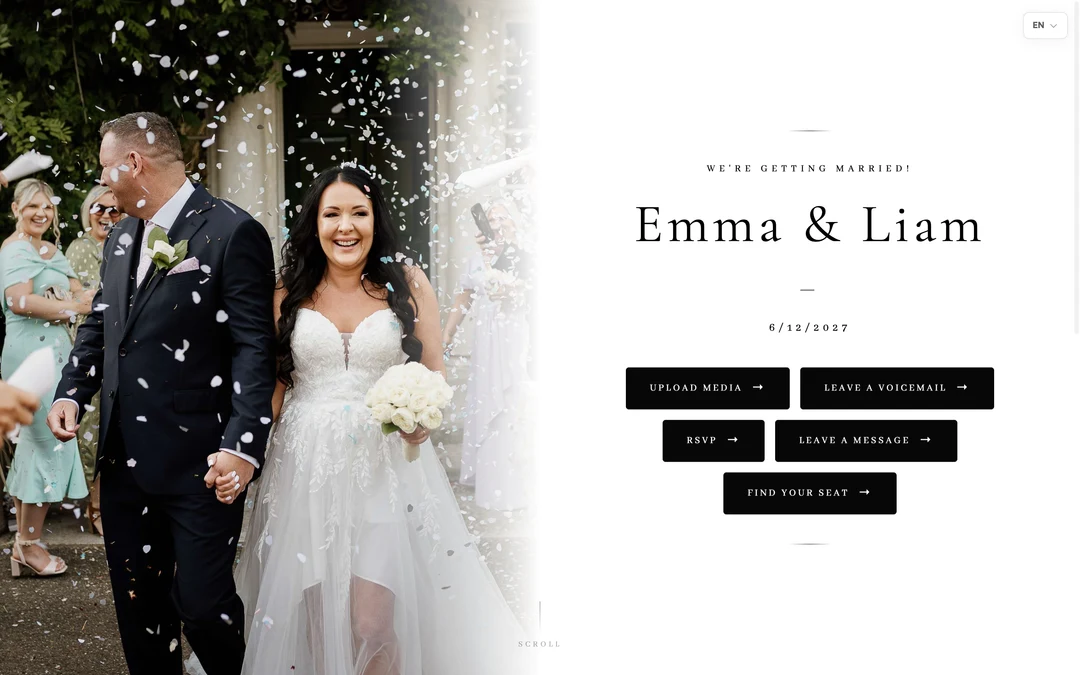
Flip the Seating tile under Guest Interactions. This adds a Find Your Seat button to your page and makes the seat search live. There is also a dedicated seat page and QR code for the venue entrance.
-
Guests scan and search
At the venue, guests scan the code, type their name, and see their table and seat instantly. No easel and no line at the board.
“Scan. Search. Sit.”
The live slideshow in five steps
Guest uploads appear on the big screen seconds after they are taken.
-
Open the slideshow control page
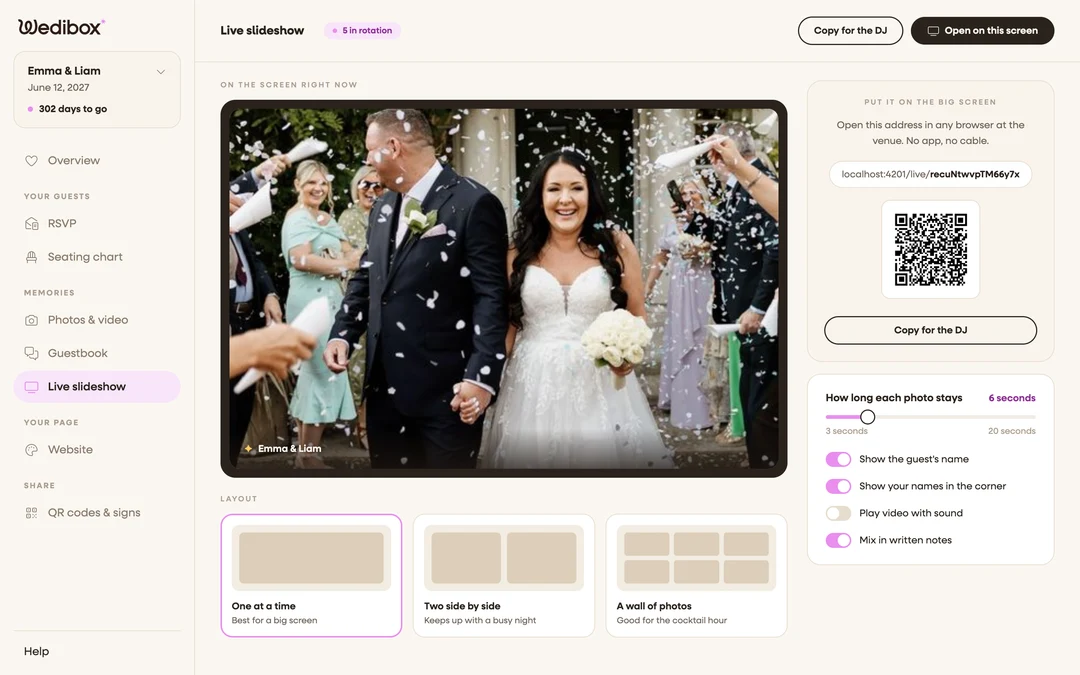
Click Live slideshow in your dashboard. The preview shows exactly what the venue screen will play. Everything about the show is set from this one page.
-
Pick the layout and pace
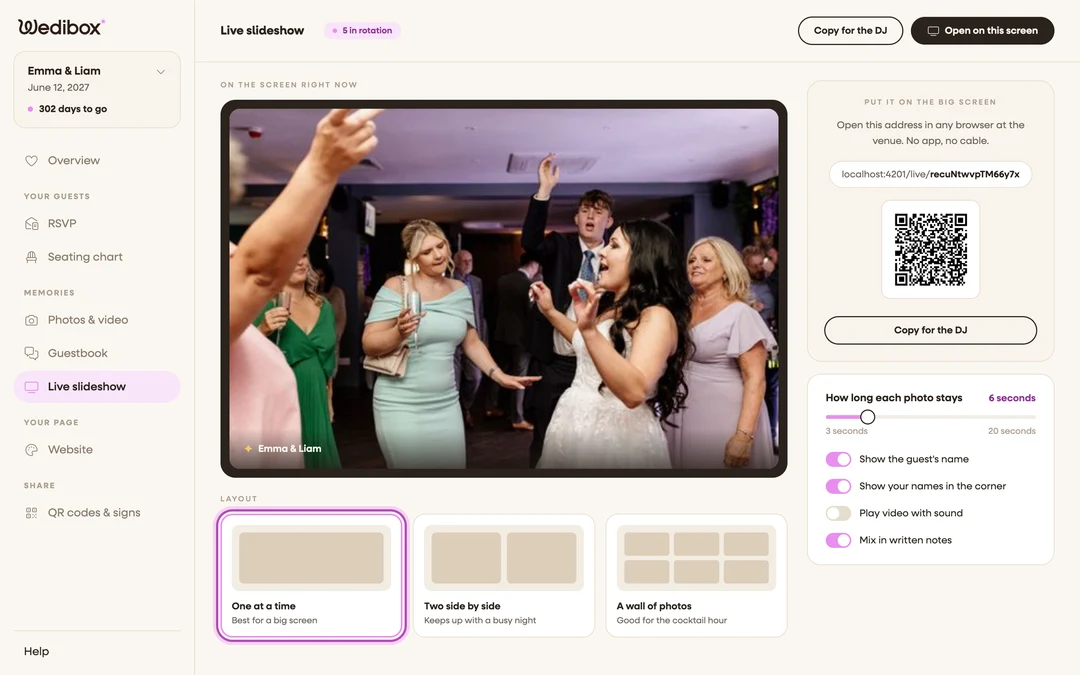
One photo at a time, two side by side, or a wall of photos. Set how long each photo stays, from 3 to 20 seconds. Toggle guest names, your names, video sound, and written notes mixed between the photos.
-
Send the link to the venue screen
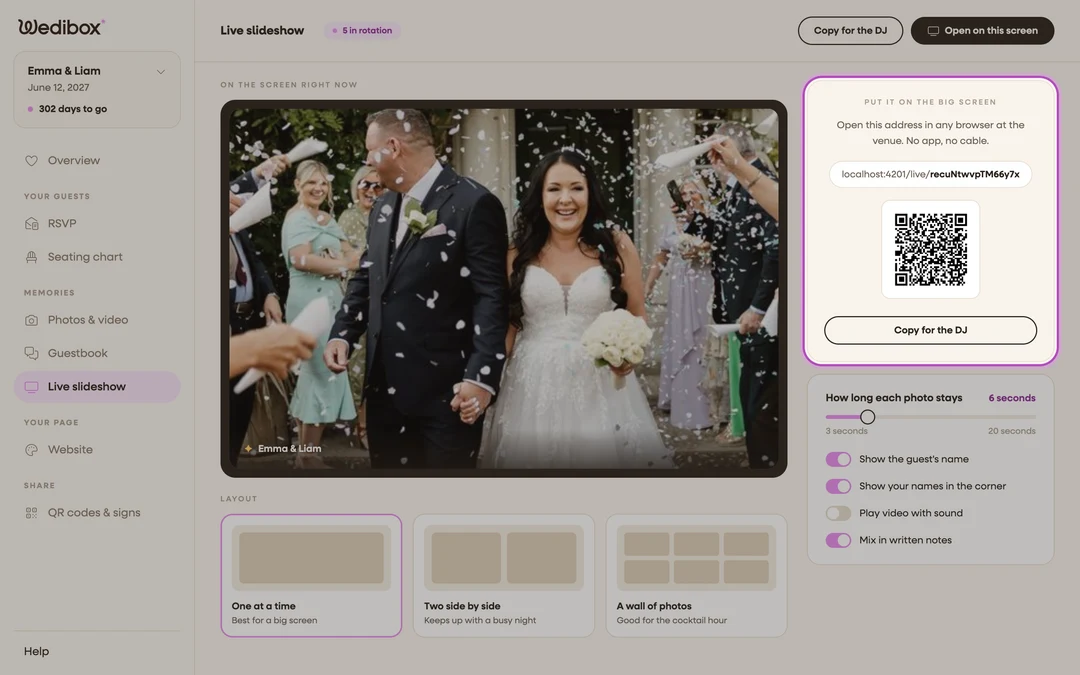
Click Copy for the DJ and send the link to whoever runs the screen. Your settings travel inside the link. Any screen with a browser works: a smart TV, a laptop on HDMI, or a cast.
-
Guests upload and the screen keeps up
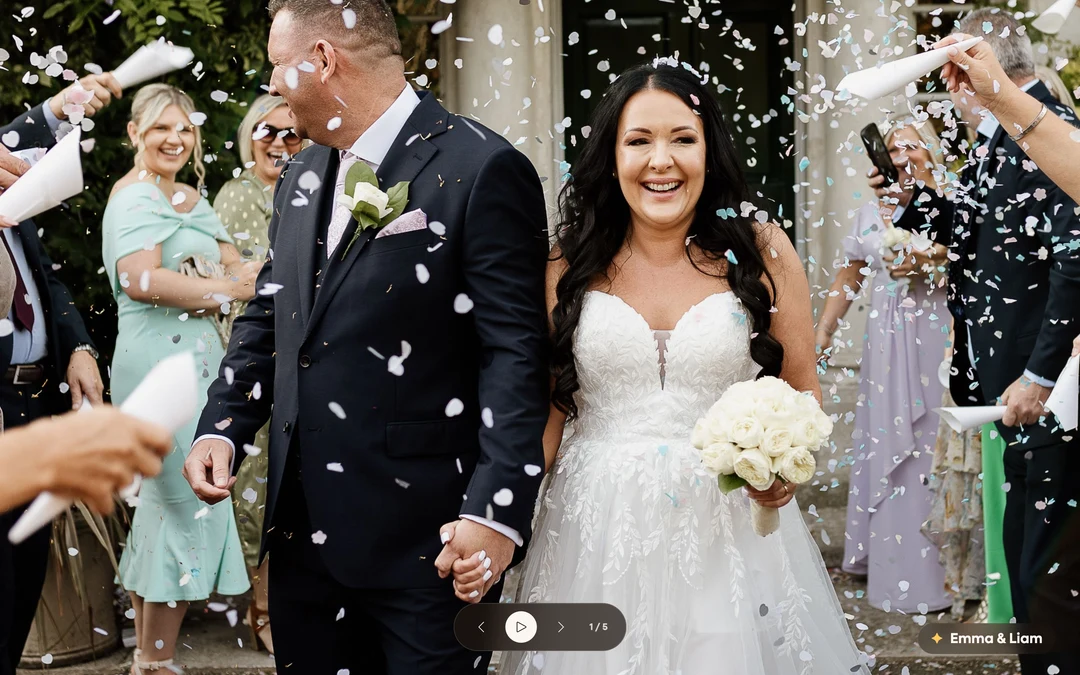
Guests scan your code and upload from their seats. Each photo joins the rotation seconds later, oldest first, so the screen replays the night in order. Guests cheer when theirs appears.
-
Moderate from your phone
The occasional photo is not for a six foot screen. Delete any upload from your phone during the reception and it leaves the gallery instantly. A co-organizer can do this for you.
“The energy can be felt in the room.”



Still Deciding if Wedibox Is Right for You?
Explore all the features above, try the demo, or reach out with your questions. We are here to help.
Free to start · One-time $49 upgrade · No subscription